
How to add a text box to a SharePoint page
Here’s how you can use the Content Editor web part to include a text message on your project web pages in SharePoint.
If you’ve ever created a new project web page in SharePoint, you probably wanted to include some kind of text box for your team. This is a great way to present useful information like project scope, contact or support details, or even a training message to help team members use the site
The first idea that may come to your mind is to simply type directly into a SharePoint zone on a page directly like this:
There is nothing wrong with the above. But you can get more flexible results using the Content Editor web part.
The Content Editor web part offers the following advantages:
· Flexibility – You can move the web part to any zone on a page without having to copy and paste your text. Plus, you won’t get broken URLs if you include them in the Content Editor web part.
· One-click visibility control – You can hide the text contained in the Content Editor web part with a click. This can come in handy if you want to show a reminder message on certain days only – or if you want to prepare but not publish the content right away.
· Audience targeting – You are able to target the Content Editor web part by permission group. So messages can be displayed only to specific project teams based on permissions.
· Consistency – You can keep all your pages looking consistent by using standard web part titles.
How to add a Content Editor web part in SharePoint
You can add the Content Editor web part to your SharePoint page in a few clicks:
Add the Content Editor web part
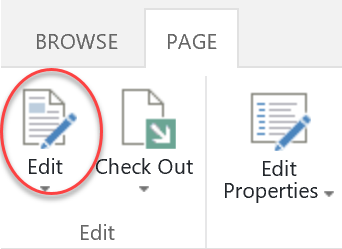
1. Click Edit from the Page ribbon.
2. Click on the zone where you would like to add the text.
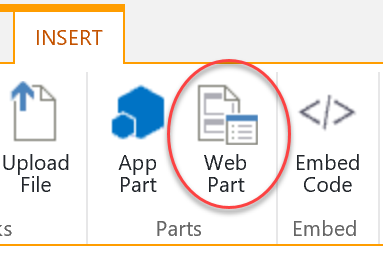
3. Click on Insert. Then click on the Web Part icon in the ribbon.
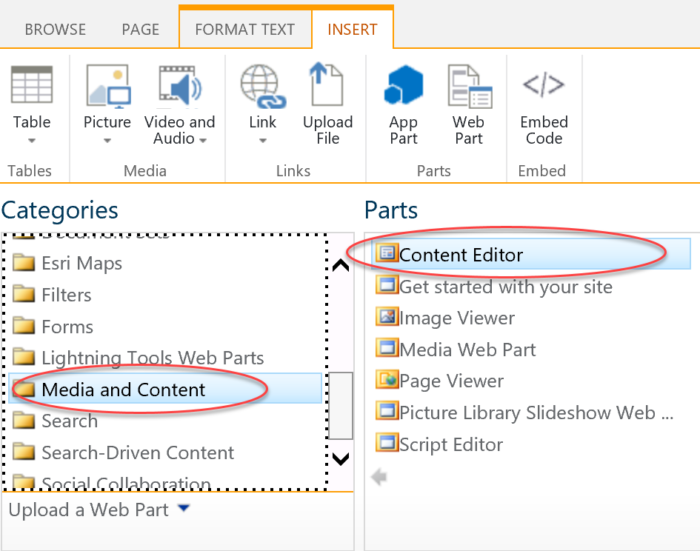
4. Under Categories, select Media and Content. Then select Content Editor under Parts (don’t see Content Editor? Get instructions to enable it below). Click Add.
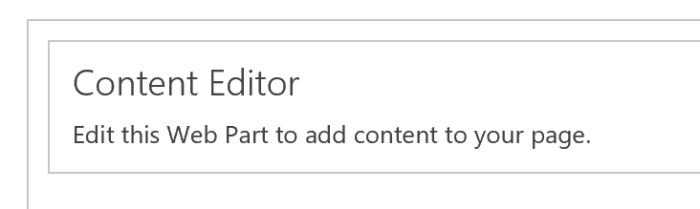
You should now see the Content Editor web part in the zone you selected.
Edit the Content Editor web part
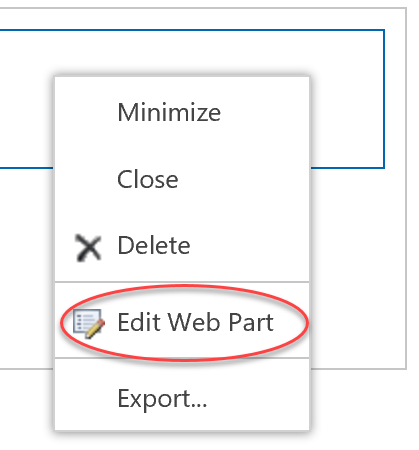
1. To edit the Content Editor, click on the upside down triangle on the right and select Edit Web Part.
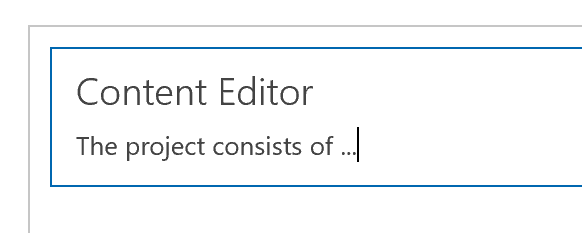
2. Enter your text into the Content Editor web part.
3. You can customize the Content Editor under Appearance, including changing the title and specifying the height and width of the web part.
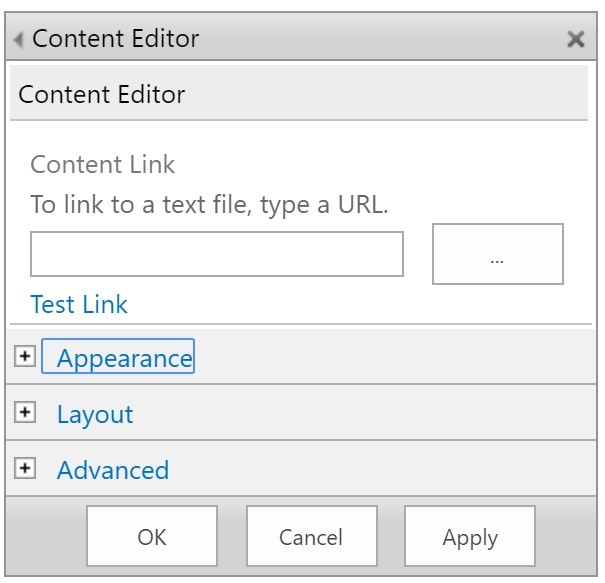
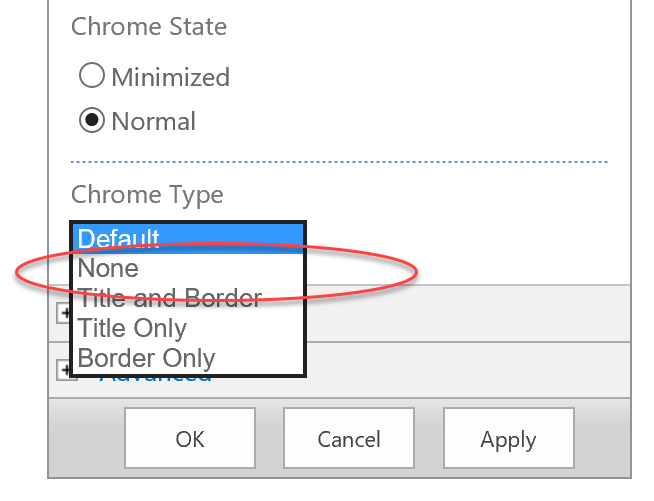
4. If you want to remove the title of the web part entirely, click Appearance and change the Chrome Type to None.
5. When you are done, click OK in the Content Editor web part and save the page
There you have it. You built your own flexible web part for text entry that can be placed anywhere on the site page.
Content Editor web part is missing from your SharePoint?
Don’t see the Content Editor web part as an option in your ribbon? Microsoft released an update last year that disables certain web parts by default in Office 365 and SharePoint online. To restore the Content Editor web part, you or your SharePoint admin will need to turn the scripting capabilities back on for your site.
You can find instruction to do so here. After you enable scripting and refresh your site, you can continue where you left off above.
Want more tips and tricks for construction project management professionals?
Our new ‘Tips from the Field’ series features time-saving information for construction project managers. Subscribe to our newsletter to get our latest tips and tricks delivered directly your inbox each month.
And be sure to check out our previous tip to learn how to import data from Excel into SharePoint.
Related Posts
How the New Copilot Project Manager AI Agent Benefits Construction Scheduling
Construction Document Management and the SharePoint Term Store
Murph 2025 is almost here – Take the Challenge!