Here is a simple tip that allows you to easily create project document libraries with their content from a template in Microsoft 365.
Lydon Solutions has been delivering SharePoint-based solutions for over 14 years. We’ve seen the evolution of SharePoint over that time from an on-premises application to the new cloud-based Microsoft 365 SharePoint Online. While the move has provided many benefits, some features have changed or deprecated with the new SharePoint Online. One such feature change is copying a document library and its contents from one location to another.
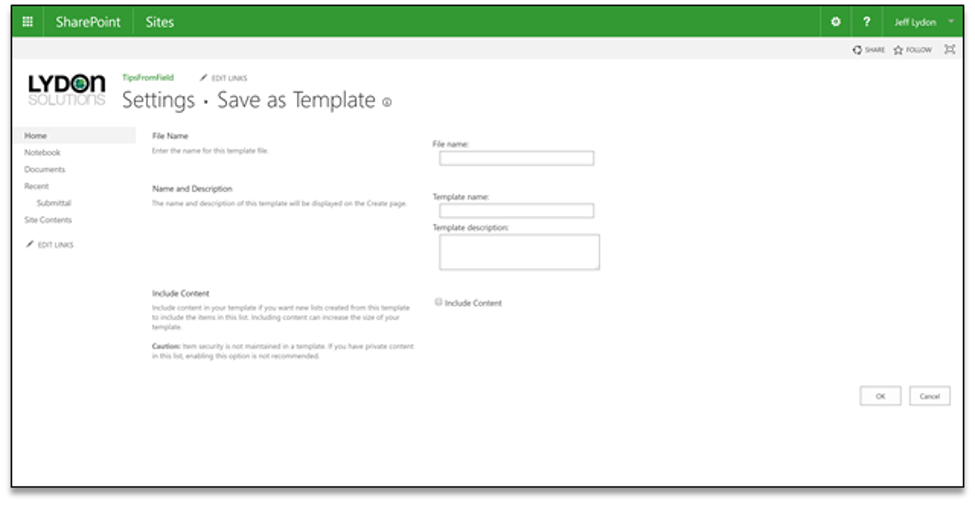
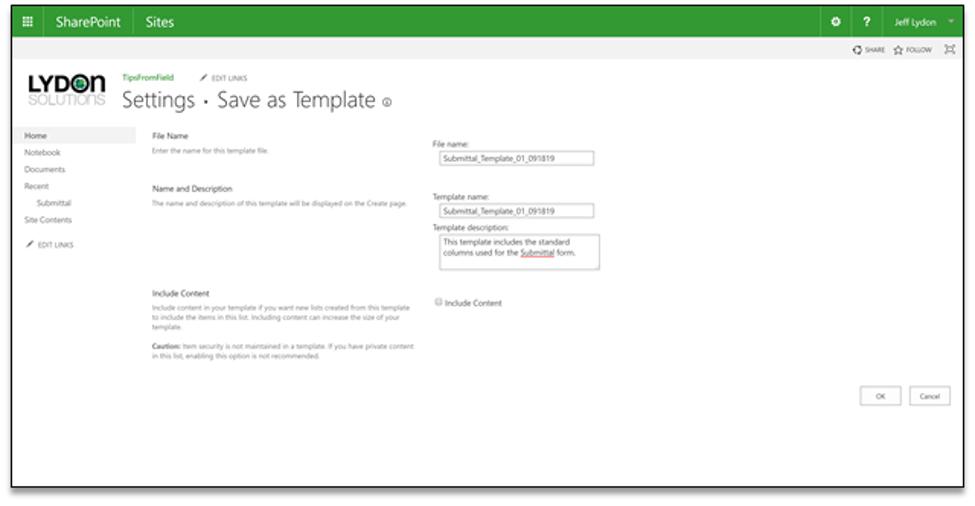
Back in the day, with SharePoint on-premises, if you wanted to create a list or library template, you would go to the list or library settings, click Create a Template, and provide a name. You could then use that template when you add a new list or library to your site. You could even export and import templates to other locations.
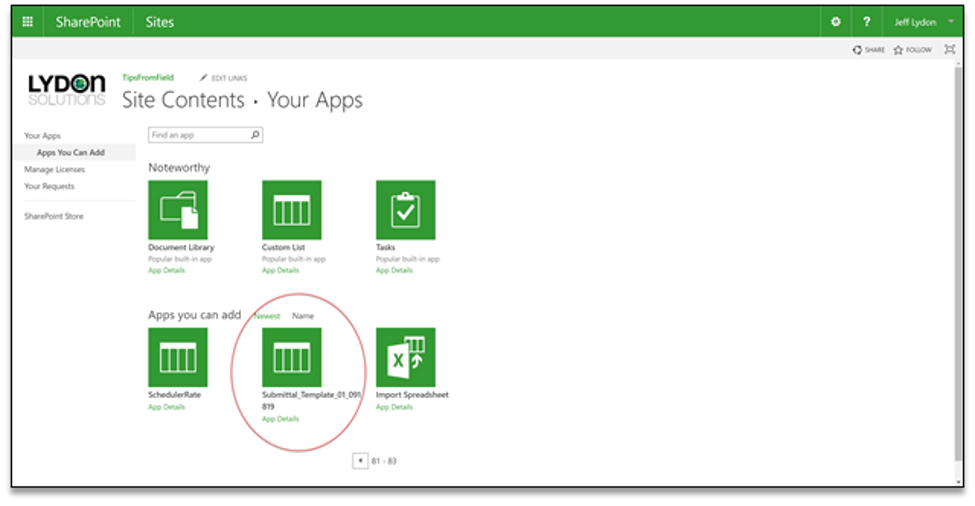
With SharePoint Online, the save a template feature is still there, but you unfortunately can’t use the template you save, which is weird. Caveat: the ability to save a template depends upon enabling features in the SharePoint site containing the document library. Straight out of the box, saving a template is unavailable.
This lack of copying ability creates a problem if you have a site where you manage multiple projects that all need to use the same document library structure with folders. Obviously, you don’t want to re-build a new document library whenever you have a new project.
How to Copy a SharePoint Library
Thankfully, there is a way out of this conundrum. SharePoint Online provides a way to copy libraries with their content but with a different approach than using list and library templates.
Here are the steps:
- Create a document library, name it “template,” and build out the folder structure as needed. Add any files that you want to have in your template document library.
- Create a new document library, but select “From existing library.” Select the template document library you created in step 1. This feature copies the template library and all the columns but does not copy the structure and content.

- Return to your template document library, select all the folders, click on the ellipses, and then select “Copy to.” You can then use the breadcrumbs in the pop-up window that appears to locate your new document library; then click on the “Copy here” button.


Presto, you have now replicated your template document library! Simple right? This is a great feature that allows you to copy content to any location.
So, instead of building a homegrown solution using an application such as Power Automate or installing a third-party tool that costs thousands of dollars yearly for a license, you combine two out-of-the-box features to solve the issue.
We hope this tip helps you use SharePoint Online to manage your projects. You can reach out for a free one-hour consultation if you need help with SharePoint or Microsoft 365.