Connect A SharePoint Calendar with Outlook
Here’s how you can create a project calendar in SharePoint, connect it with Outlook and share it with your team to keep everyone in sync.
The SharePoint Calendar App can be added to any SharePoint site. It behaves much the same as an Outlook Calendar and can be customized as needed.
A handy feature of a SharePoint calendar is the ability to connect it to Outlook. This functionality allows a user to add the SharePoint Calendar to their personal Outlook Calendar view. Events can then be updated bi-directionally from Outlook to SharePoint and vice versa. This is a great way to easily get your entire project team working off the same schedule.
Follow the steps below to get your SharePoint Calendar connected to Outlook.
Step One – Connect Your SharePoint Calendar App to Outlook
1. Navigate to a SharePoint Calendar.
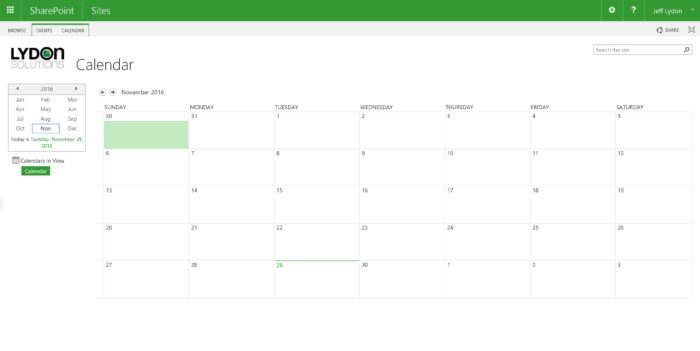
2. Click the Calendar tab in the Ribbon.
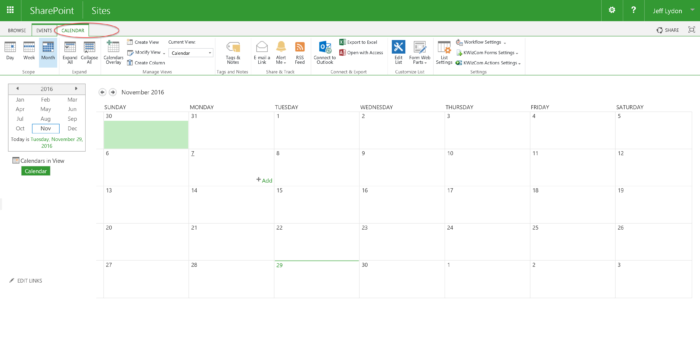
3. Click the Connect to Outlook button in the Ribbon.
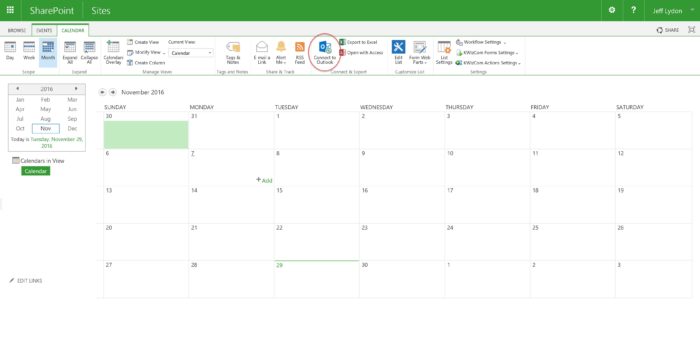
4. A browser dialogue box will appear. Allow the website to open a program on your computer.
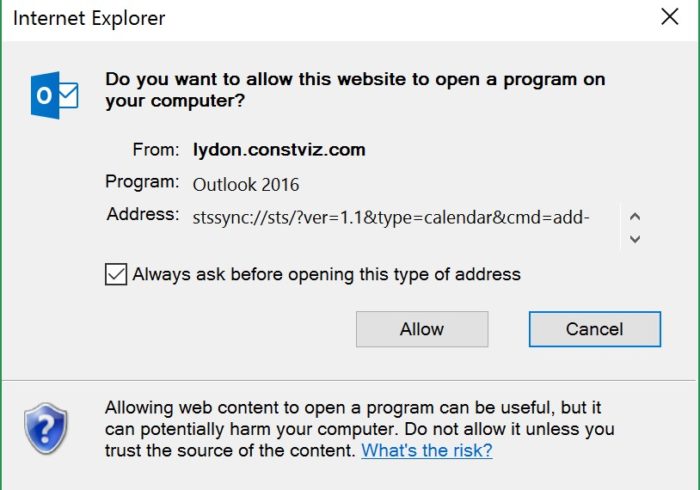
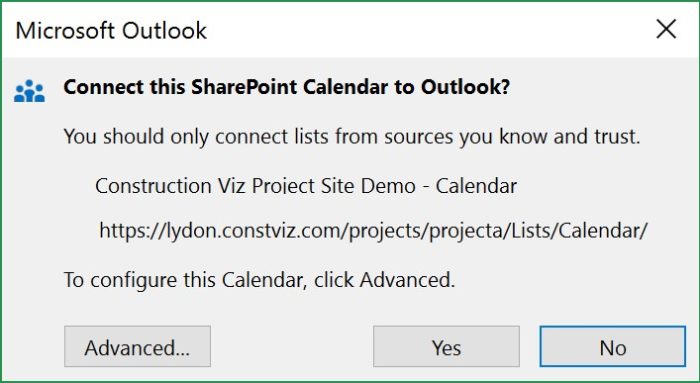
5. Select “Yes” when prompted to Connect this SharePoint Calendar to Outlook
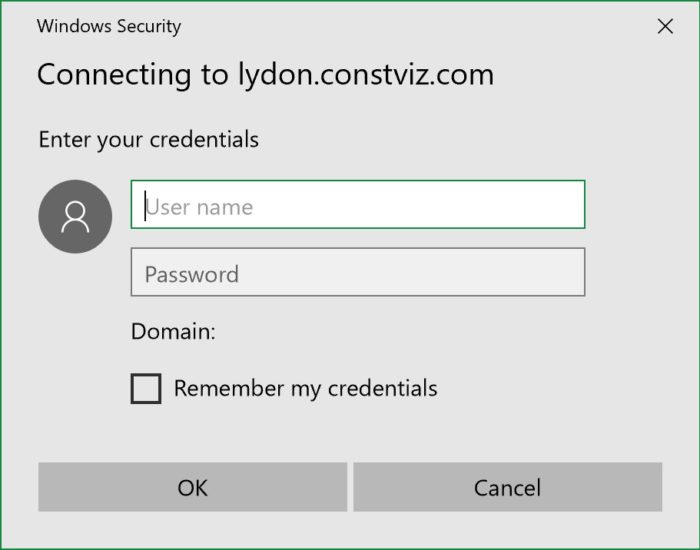
6. If your SharePoint is externally hosted, you may be asked to log in.
Step Two – Open Your SharePoint Calendar in Outlook
7. Go to Outlook and navigate to your calendar view.

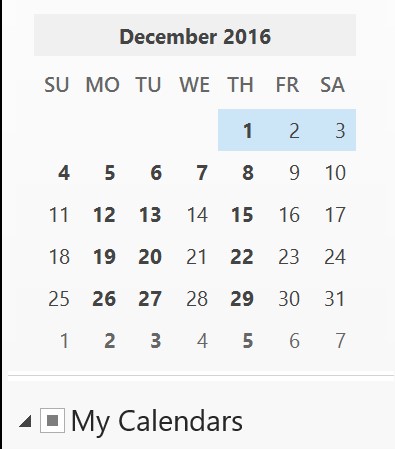
8. Under My Calendars in Outlook you will see the new SharePoint Calendar. Check the box next to it to add it to your calendar view.
That’s it. You can now view and update your SharePoint calendar in Outlook. Any changes made to the calendar on SharePoint or by other team members in Outlook will be shared with everyone.
There are a ton of other useful ways to extend the SharePoint Calendar, including adding interactive popup windows, linking it to forms or workflows, or creating responsive mobile calendars. Contact us for a free consultation to see what is possible.
Want more tips and tricks for construction project management professionals?
Our new Tips from the Field series features handy information for construction project managers. Subscribe to our newsletter to get our latest tips and tricks delivered directly your inbox each month.
And be sure to check out our previous tip to learn how to add a text box to a SharePoint page.

Related Posts
How the New Copilot Project Manager AI Agent Benefits Construction Scheduling
Construction Document Management and the SharePoint Term Store
Murph 2025 is almost here – Take the Challenge!