How to Configure Required Fields in SharePoint
Here’s how you can make any field a required field in SharePoint – or change a field to not be required.
Need to ensure that users enter certain information when saving records to SharePoint? SharePoint lets you designate required fields. Doing so specifies that the required field must be populated with data before a record can be saved and made visible to other users.
This option is handy for Document Control since it requires that users populate key data, for organizing and reporting, when saving a record –which as we know, can sometimes be a challenge.
Continue reading to learn how to designate any field as required in SharePoint (or vice versa).
Default Required Fields in SharePoint
SharePoint has different required field defaults depending on the application that admins and document control specialists should be aware of:
- List – Title field is required
- Contacts – Last Name field is required
- Tasks – No required fields
- Picture Library – No required fields
- Calendar – No required fields
- Document Library – No required fields, but the Name field automatically captures the filename when a document is saved. Users can populate the Title field whenever they want.
Any of these defaults can be changed by following the steps below:
How to Make a Field Required (or Not Required) in SharePoint
1. Navigate to the Library where you would like to make the change.
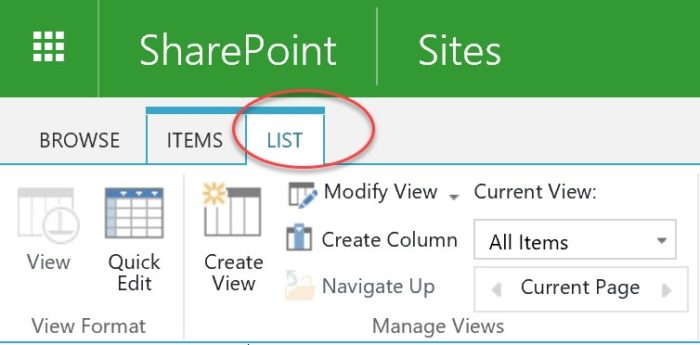
2. Click on the gear icon in the top right of the ribbon and select Library Settings. Or if you’re in a list, select List Settings.


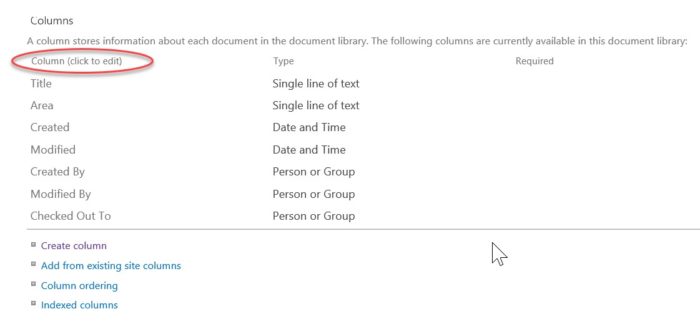
3. Scroll down to the Columns section of the Library Settings.
4. Click on a Column that you would like to make required.

5. Scroll down to the Additional Column Settings and to select “Yes” to make the field required or “No” to make it optional.

6. Select OK to save your changes.
A few things to keep in mind:
- Overuse of required fields can be a deterrent for some project team members, especially if the information being requested is not available/known at the time the record is saved. Make sure to selectively choose which fields really need to be required and make sure this is part of your governance plan.
- Utilizing the drag-and-drop feature in a Document Library with required fields can create issues. Drag-and-drop is a great feature for users that want to upload multiple files at one time. The downside of having required fields set for a Document Library is that the documents will be checked out to the user dropping off the files and not available for other users. The required fields must be populated and the documents checked in before other users can see and use them. Note: This happens even if the Document Library doesn’t have document check-out turned on.
- Quick Edit will not save until required fields are populated.
- Choice fields with only one value or a default value will automatically save.
Want more tips and tricks for construction project management professionals?
Our Tips from the Field series features handy information for construction project managers. Subscribe to our newsletter to get our latest tips and tricks delivered directly your inbox each month.
And be sure to check out our previous tip to learn how to connect a SharePoint Calendar with Outlook.

Related Posts
Struggling to Share SharePoint Files Externally? Here’s the Fix
How the New Copilot Project Manager AI Agent Benefits Construction Scheduling
Construction Document Management and the SharePoint Term Store