• Skip to primary navigation
  • Skip to main content
  • Skip to primary sidebar
  • Skip to footer
Lydon Solutions

Lydon Solutions

Construction Project Management Software Solutions

  • Construction Viz
  • Clover AI
  • Services
    • Business Consulting
    • Professional Services
    • Microsoft 365 Managed Services
    • Government Agencies
  • Company
  • Events
  • Blog
  • Careers
  • Contact
  • Search
  • Free Consultation
Show Search
Hide Search

document management

How to Configure Required Fields in SharePoint

Tips from the Field | April 21, 2017

Here’s how you can make any field a required field in SharePoint – or change a field to not be required.

Need to ensure that users enter certain information when saving records to SharePoint? SharePoint lets you designate required fields. Doing so specifies that the required field must be populated with data before a record can be saved and made visible to other users.

This option is handy for Document Control since it requires that users populate key data, for organizing and reporting, when saving a record –which as we know, can sometimes be a challenge.

Continue reading to learn how to designate any field as required in SharePoint (or vice versa).

Default Required Fields in SharePoint

SharePoint has different required field defaults depending on the application that admins and document control specialists should be aware of:

  • List – Title field is required
  • Contacts – Last Name field is required
  • Tasks – No required fields
  • Picture Library – No required fields
  • Calendar – No required fields
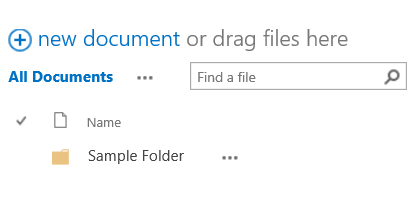
  • Document Library – No required fields, but the Name field automatically captures the filename when a document is saved. Users can populate the Title field whenever they want.

Any of these defaults can be changed by following the steps below:

How to Make a Field Required (or Not Required) in SharePoint

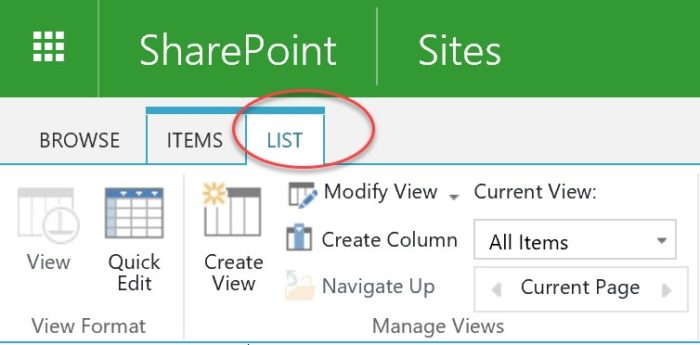
1.       Navigate to the Library where you would like to make the change.

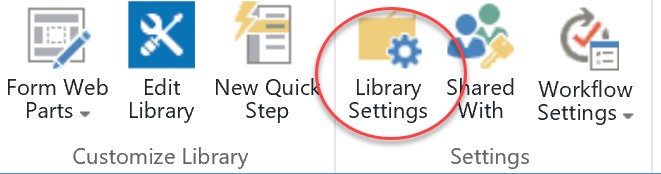
2.       Click on the gear icon in the top right of the ribbon and select Library Settings. Or if you’re in a list, select List Settings.


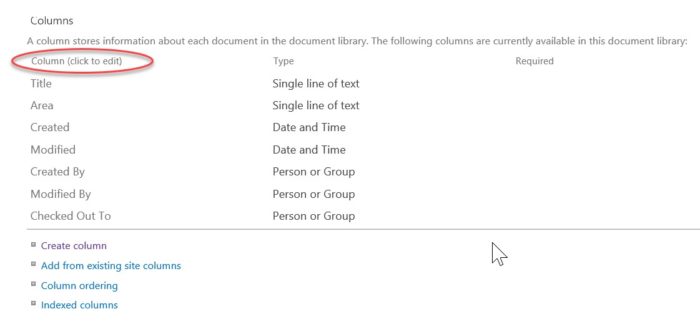
3.       Scroll down to the Columns section of the Library Settings.

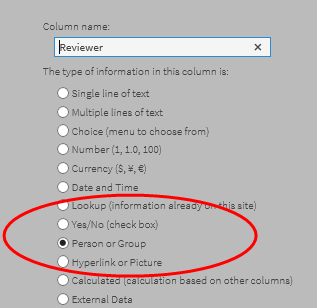
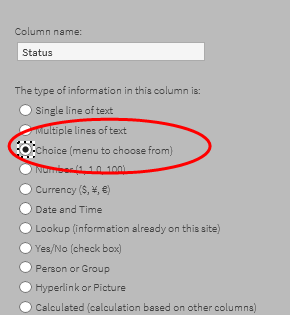
4.       Click on a Column that you would like to make required.

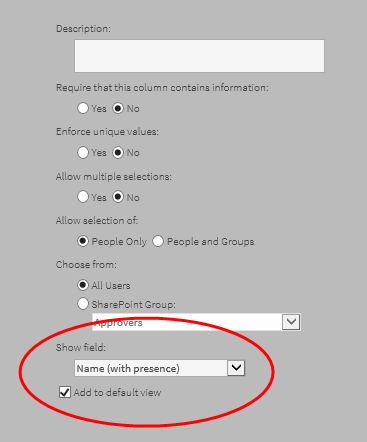
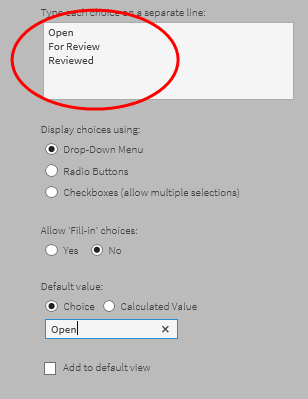
5.       Scroll down to the Additional Column Settings and to select “Yes” to make the field required or “No” to make it optional.

6.       Select OK to save your changes.

A few things to keep in mind:

  • Overuse of required fields can be a deterrent for some project team members, especially if the information being requested is not available/known at the time the record is saved.  Make sure to selectively choose which fields really need to be required and make sure this is part of your governance plan.
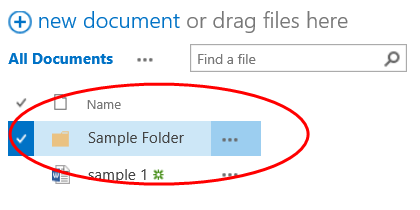
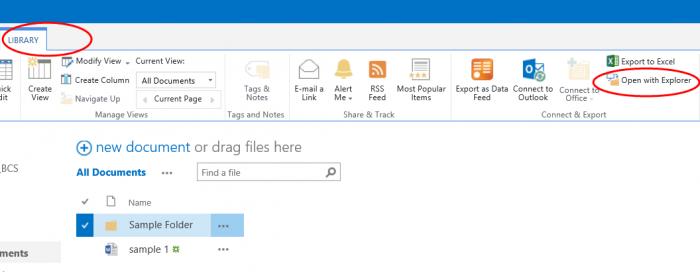
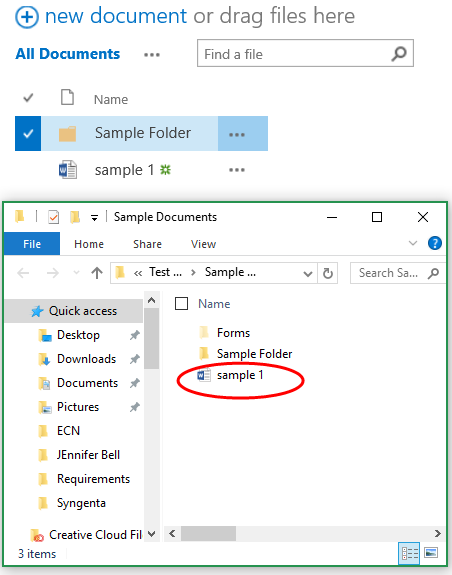
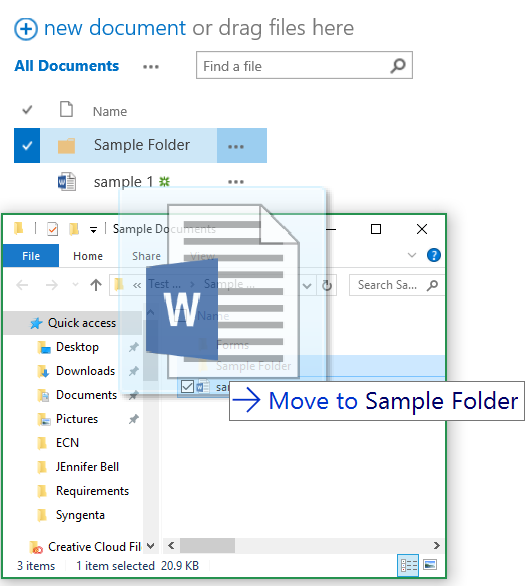
  • Utilizing the drag-and-drop feature in a Document Library with required fields can create issues.  Drag-and-drop is a great feature for users that want to upload multiple files at one time.  The downside of having required fields set for a Document Library is that the documents will be checked out to the user dropping off the files and not available for other users. The required fields must be populated and the documents checked in before other users can see and use them.  Note: This happens even if the Document Library doesn’t have document check-out turned on.
  • Quick Edit will not save until required fields are populated.
  • Choice fields with only one value or a default value will automatically save.

Want more tips and tricks for construction project management professionals?

Our Tips from the Field series features handy information for construction project managers. Subscribe to our newsletter to get our latest tips and tricks delivered directly your inbox each month.

And be sure to check out our previous tip to learn how to connect a SharePoint Calendar with Outlook.

Easily move files in SharePoint

Tips from the Field | May 5, 2016

Learn how to move files in Microsoft SharePoint

Have you ever needed to re-organize your files in Microsoft SharePoint? Maybe your manager wants to use a different folder structure (and yes, if you’re a regular reader of our blog, you know there are lots of limitations to organizing files by folders). Or perhaps you inherited someone else’s organization scheme and want to make it your own. There are many reasons why you may need to shift the location of your documents.

So what is the easiest way to move files in SharePoint?

We’ve heard from more than a few users who found themselves in this situation. They painfully recounted downloading all the files to their local hard drive, re-organizing them, and then uploading them all again.

A real pain, right? Yes, and completely unnecessary!

You can easily move and re-organize files in SharePoint using the Open with Explorer tool. No downloading required.

Open with Explorer is a cool feature that is often overlooked.  It basically opens a window to movable files in the current SharePoint library, making it easy to move or copy your documents.  Read on to see how it works.

How to move files in SharePoint

Let’s say you want to move the “sample 1” doc into Sample Folder.  Take the following steps:

1. Navigate to the SharePoint Library with the file(s) you want to move.

2. Click into the Library Tab and select Open with Explorer

3. A new Explorer window will open. Select the file that you want to move.

4. Drag the file into the folder

5. Refresh your browser. The File is moved into the folder you selected.

The above was a very simple example. But Open with Explorer can work on one or more files and saves a lot of time moving documents from one folder to another.  Good luck and happy SharePointing!

Want more tips and tricks for construction project management professionals?

Our new Tips from the Field series features handy information for construction project managers. Subscribe to our newsletter to get our latest tips and tricks delivered directly your inbox each month.

And be sure to check out last month’s installment to learn how to filter your SharePoint view to show documents requiring your action.

Filter your SharePoint view to show documents requiring your action

Tips from the Field | March 29, 2016

Learn how to configure your SharePoint view to show items you created or that require your review

SharePoint makes it easy to configure a view to see the items you need.  You can set one or more filter parameters when you create or edit a view. This comes in handy when you need to see just the documents you created or modified – or items requiring action by you.

The best part is that once you understand how to a configure a view, most apps across SharePoint (e.g. lists, libraries, etc.) behave the exact same way.

Scenario 1:  Show only your documents

The SharePoint document library can be a crowded place if you are part of a big team. But SharePoint has a quick out-of-the-box filter to create a view showing only your own documents. Here’s how:

  1. Select a list or library
  2. Click “Create” and select “Standard View”
  3. Scroll down to the “Filter Options” in the View Menu
  4. Select “Show items only when the following is true”
  5. Under “Show the items when column,” select following options from the dropdown box:
    • the field you want to filter (e.g. “Created By” or “Modified By”)
    • the “is equal to” condition
  6. Enter “[Me]”) in the filter criteria box
  7. Click “OK” at the bottom of the screen to create the view

Scenario 2: Show items requiring your review

Maybe your team wants to implement a document review process. In this case, it would be helpful to have a view showing documents where you are a reviewer. SharePoint makes it simple to do this.

First you will need to have a column to track reviewers:

(Your SharePoint administrator may need to help you with these steps)

1.       Add a Column called “Reviewer” to your SharePoint List or Library.

2.       Under “The type of information in this column is,” select “Person or Group”

3.        Go down to the “Additional Column Settings” section. Under “Show field,” select  “Name (with presence)”

You now have a new column called “Reviewers.” Make sure that when items are added to the List or Library, this field is populated with a name.

Follow the steps above in Scenario 1 to configure a new view, but use “Reviewer” as the filter instead of “Created By” or “Modified By.”

Scenario 3:  Show all items requiring review

Here is a variation on Scenario 2. Maybe you need to see all the documents or items that are pending review from everyone on your team. A status field column would be helpful here.

Once again, you may need your SharePoint administrator’s help depending on your user permissions.

1.       Create a new Column called “Status”

2.       For “The type of information in this column is,” select “Choice (menu to choose from)”

3.       Type each status choice in the box below.

4.       Under “Default Value,” select the appropriate status. For example, “Open.”

Make sure all new Documents or Items added to the List or Library have the new Status field populated.

Now you can group the Documents or Items by their status (e.g. Open, For Review, and Reviewed) by selecting the “Group By” option when creating or editing a view.

That’s it. You now have a new view showing all your documents and list items by Status where you are the Reviewer.

SharePoint has many other view options that you can access in same way to create custom filtered views. You can also edit existing views to customize what they display.

Want more tips and tricks for construction project management professionals?

Our new Tips from the Field series features handy information for construction project managers. Subscribe to our newsletter to get our latest tips and tricks delivered directly your inbox each month.

And if you are an Excel user, be sure to check out last month’s installment to learn how to export your project data from SharePoint to Excel and keep it automatically up-to-date!

Primary Sidebar

Recent Posts

Microsoft Tips | May 1, 2025

Use Microsoft 365 Groups for a Project Email Inbox

AI Solutions | April 24, 2025

Copilot and Planner Premium – R.I.P. Project Schedulers?

SharePoint Favorites
Microsoft Tips | April 16, 2025

Always Find What You Need With SharePoint Favorites

sharepoint site usage analytics
Microsoft Tips | April 10, 2025

You Built It. Now Make Sure They Come: SharePoint Site Usage Analytics

Microsoft News | April 1, 2025

Running Out of Storage? Check Out the New Microsoft 365 Archive Feature

Microsoft Tips | March 24, 2025

How to Manage Construction Project Photos in SharePoint

Footer

About

Lydon Solutions is a WBE consulting group specializing in construction project management software solutions using Microsoft SharePoint. Learn more >

Products & Services

  • Construction Viz
  • Clover AI
  • Professional Services
  • Business Consulting
  • Microsoft 365 Managed Services
  • Government Agencies

News & Events

  • Events
  • Blog

Company

  • About
  • Careers
  • Contact Us

Join our Mailing List

  • This field is for validation purposes and should be left unchanged.
Lydon Solutions

© Lydon Solutions

  • Sitemap
  • Privacy
  • Cookies
  • Terms of Use
  • Disclaimer

Click here to start a Microsoft Teams chat.

Contact Us
Name(Required)
This field is for validation purposes and should be left unchanged.