
How and Why to Use Promoted Links in SharePoint
Have you ever wondered about those “get started with your site” icons that appear on the home page when you create a site? Odds are you remove them quickly without even thinking. However, they are actually Promoted Links, a SharePoint app that is added in Site contents.
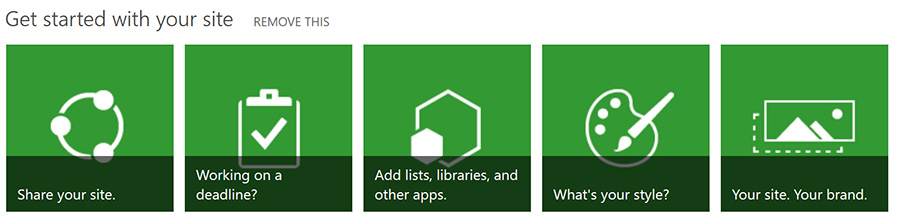
Promoted Links help you (as a SharePoint administrator) build attractive sites with easy-to-configure navigation. This feature lets you create links to content you want to feature. You can assign images to the links and easily organize them from the Promoted Links List, which is automatically created when you add the app.
Promoted Links are similar to Summary Links. The main difference is that Promoted Links are organized at the list level, while Summary Links are added to a web page and are organized when you edit a web page.
How to Create Promoted Links in SharePoint
First find the images you want to use as icons for your links, and create a library of the images.
Next, identify the content you want to promote. Create a library or list of this content. Also create a view your users will access when they click the links.
Next:
1. Click the cog wheel icon on the top right of your website page.

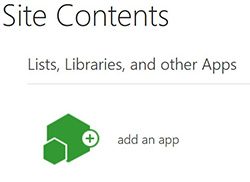
2. Select “Site contents.”

3. Click “add an app.”
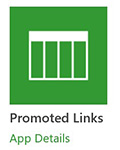
4. Select “Promoted Links.”
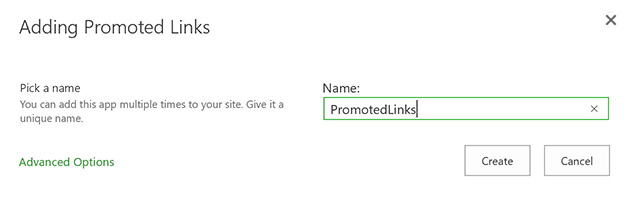
5. Enter a name for the Promoted Links app and click “Create.”
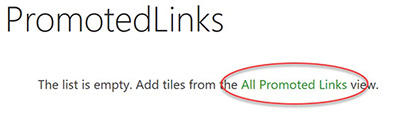
6. The Promoted Links list is created. To add links, click the “Add tiles from the All Promoted Links view” hyperlink.
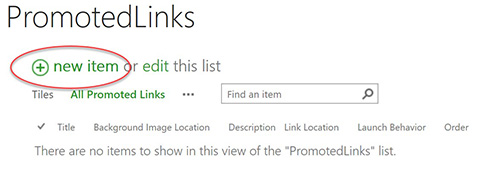
7. Click “new item” to add a link.
8. Add the following data to add a single link. You’ll need to make several choices, as follows:
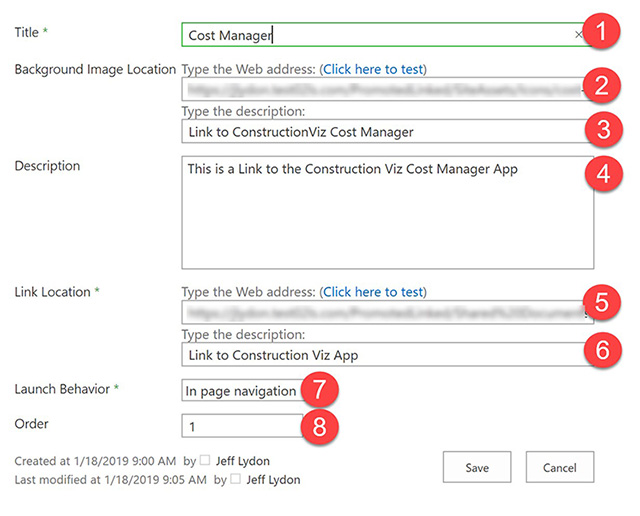
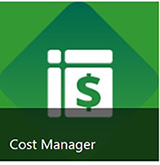
1) Title: This is a required field for adding a link. This text will display with your image when viewed on your website:
2) Background Image Location: Copy and paste the entire URL where you stored the image that will be associated with the link.
3) Type the Description: Describe the image. This text only shows in the Promoted Links list and not on your website.
4) Description: This text will display with the image once you mouse over it on the website.
5) Link Location: This required field links to the content that you want users to navigate to. Copy and paste the entire URL to the library or list item in the field.
6) Type the Description: Describe where the link is pointing to. This text only shows in the Promoted Links list and not on your website.
7) Launch Behavior: This required field has a few options:
a. In-page navigation – This is the default behavior where the users are redirected to a link once they click on the image.
b. Dialog – This option opens a modal window (a pop-up window on the same page) once users click on the image.
c. New tab – This option opens a new browser tab once users click on the image.
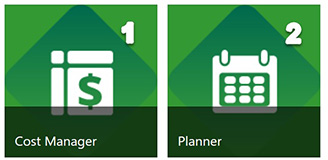
8) Order: This is the sequence of how the images with their corresponding links will appear from left to right across the website.
That’s it! Promoted Links are an easy way to create simple, well-organized navigation for a website.
Want to Do More with SharePoint or Office 365?
If you want more in-depth SharePoint development, or are looking for apps to manage your construction projects, contact Lydon Solutions.
We now offer Construction Viz Apps for Office 365 for managing your projects all within your own Office 365 tenant. The data resides with you, and you can leverage Office 365 security and reduce costs by selecting only the apps you need. Learn more today with a free demo and consultation.
Related Posts
Lydon Solutions is Keeping You in the “Loop” for Construction: Microsoft Loop Part II
How to Create Forms in Microsoft 365 with Microsoft Lists
The New Microsoft Planner: One Plan to Rule All Your Construction Projects!